Plan, Design, Create and Deliver a Presentation
Before you create a presentation, it is important to plan and outline the message you wish to convey. When working on a construction project, master carpenters abide by the rule “measure twice, cut once”. Likewise, when it comes to creating a presentation, taking the time to plan and prepare before beginning to create a presentation, will not only make the presentation more enjoyable and effective but will ultimately save you time. Part of this planning is to identify the audience who will be listening to and or watching the presentation and then to choose a medium that is appropriate for conveying the message to this audience. The key to being comfortable and relaxed in front of an audience when you deliver the presentation is preparation. When the content is organized in a logical manner, it is much easier to learn and to deliver.
Defining the Purpose of the Presentation
There are many different types of presentations. For a presentation to be successful, it is necessary to begin by defining the purpose. Before beginning ask yourself – Is the presentation meant:
- to inform?
- to persuade?
- to sell?
- to educate?
- to motivate?
- to entertain?
If the presentation is intended to inform or educate, then the goal of the speaker is to increase the knowledge or ability of the audience by providing new information about an already familiar subject, process, event, or concept.
If the presentation is intended to persuade, sell, ormotivate, then the goal of the speaker is to change the attitude, belief, or behaviour of the audience. The speaker may present opposing points of view on a particular subject, product, or issue allowing the audience to draw their own conclusions based on the facts presented. Or, the speaker may present and explore a concept or policy concluding with a recommended course of action. This type of presentation can be much more challenging to create and deliver than one meant to inform or educate because it is often based on controversial subjects important not only to the speaker but also to the audience.
If the presentation is intended to entertain, then the goal of the speaker is to keep the audience engaged, amused, and interested in the content of the presentation.
Identifying the purpose helps to provide a focus for the speaker and ensures that a clear message is conveyed to the audience. Limit the number of related topics in the presentation to avoid confusion in the mind of the audience. Ensure that the main topic is clearly stated and then supported and reinforced throughout the entire presentation.
Developing the Content
To create an effective presentation, you must know your subject. If necessary, you may need to research some components of your topic. Research can enhance your credibility. Knowledge of the latest information in the subject area helps you to anticipate audience reaction and gives you time to prepare ways of dealing with potential controversies. The Internet is one source of current information as well as traditional forms of media including newspapers and magazines. Personal interviews may also be helpful in developing the content of the presentation.
Creating Effective Text Presentations
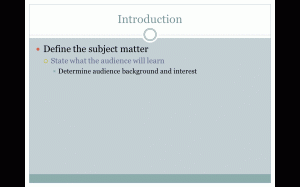
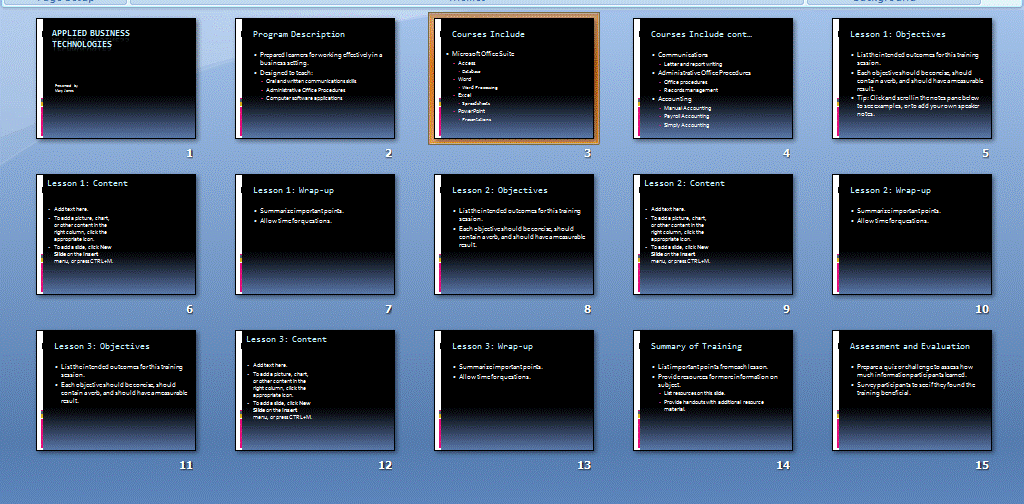
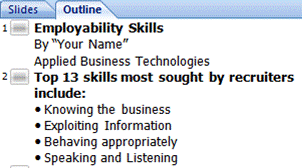
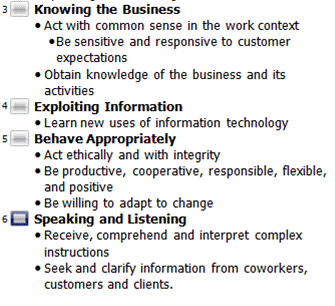
Once the purpose has been identified and your topic researched, it is time to organize your presentation. The first slide in the presentation should provide an introduction to the topic, and the last slide should provide a conclusion. In between, there should be a natural flow to the presentation. Using PowerPoint‘s Outline View is a very effective way to enter and organize the content of the presentation by arranging it into first, second, and third level headings. Each of these remaining slides in a presentation should contain only one main thought or idea. Too many thoughts or ideas on one slide may confuse the audience and cause the speaker to stray from the topic – don’t overwhelm the audience with too much information. Apply the 7 x 7 rule to the content of these remaining slides. This means that each slide should contain no more than seven lines of text and each line of text should contain no more than seven words. This can be achieved by eliminating unnecessary articles, pronouns, and adjectives. Be sure that the grammatical structure of the phrases are parallel to one another and that font sizes are readable.
A good introductory slidecan build speaker confidence and help a speaker to relax. It should be designed to:
- gain the attention of the audience
- introduce the topic
- present the purpose
- forecast the main points
An effective concluding slide needs to be more than an opportunity for the speaker to say thank you. The Closing Slideshould:
- summarize the main points
- leave the audience with something to remember
The remaining slides in the presentation should:
- contain only one main idea
- maintain a consistent layout
- follow the 7 x 7 rule
- keep phrases parallel
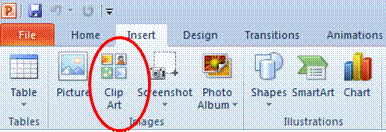
Using Graphics Effectively
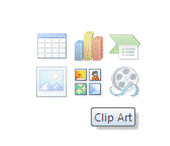
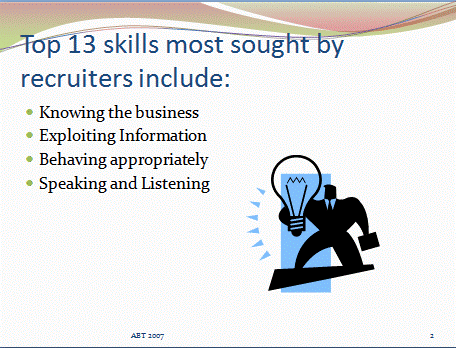
There are many reasons to include graphic images in a presentation. Some of these reasons are:
- to present information that cannot be as effectively conveyed in words
- to involve, interest, and motivate the audience
- to increase audience understanding and create a lasting impression
- to build credibility and add a sense of reality
- to provide variety
When choosing a graphic image or picture to add to the presentation, consider the effect it will have on the audience and the part it plays in supporting the topic. Just because clip art and other images are available to use, does not necessarily mean they should be included. Too many graphic images in a presentation can be distracting for the audience creating the opposite effect, detracting from rather than enhancing the message.
Polish Up the Presentation
Now that the text is created and entered and appropriate graphic images inserted, it is time to put on the finishing touches. If not already selected, choose a theme template that will provide an appropriate backdrop to the slides in the presentation. Run the slide show to check how each slide will be presented to the audience, and consider applying transition and custom animation effects to the objects in the presentation.
When applying transition schemes to the presentation, graphic designers recommend that it is best to use no more than two different effects in one presentation. Using more than two can cause the audience to become fixated on the visual effects and lose sight of the content and message of the presentation. The title slide usually has no transition effects applied.
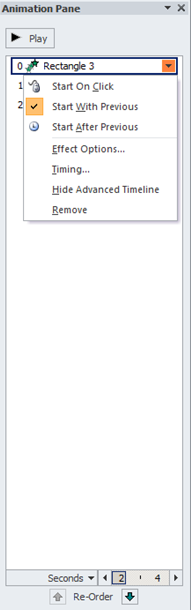
Custom animation effects can be applied to bulleted text or graphic images. When applied to bulleted text, each bulleted paragraph is progressively disclosed to the audience during the running of the slide show. This helps to focus the audience attention on each individual bulleted item as it appears on the screen. If animation effects are applied to bulleted text, like the use of transition schemes it is best to choose and use no more than two different types of effect. This will keep the presentation consistent.
Delivering the Presentation
Though the presentation may be prepared to be delivered online on the Web or perhaps run endlessly in a kiosk, more often than not the presentation is used as a visual tool to accompany a speech in front of an audience. This is the point when it all comes together for you. Some of the following tips may help when delivering the presentation.
Practice Makes Perfect
Be prepared! You cannot bluff your way through a presentation. Practice aloud several times while running the slides and referring to the speaker’s notes. Practice using the equipment and the different software features.
Polish your Delivery
Look at the audience while speaking – make eye contact. This opens up communication and gains credibility for your message. Try not to read verbatim from the speaker’s notes. Speak clearly and try to vary your tone of voice always making sure that the person in the back row can hear you. Try not to stand directly in front of the projector. Stand to the side and face the audience as much as possible.
Arrive Early
This will give you time to check out the equipment and let you gather your thoughts as you set up the presentation. Start PowerPoint and be sure that the show will run and that your notes are with you or on the lectern. Relax and greet people as they arrive. Distribute handouts before or after, not during, the presentation.
Be Flexible and Courteous
Be prepared to adjust to the audience demands. Questions from the audience may require that you return to a previous slide or that you may not be able to cover all slides and so need to advance more quickly.
Following the suggestions for planning, preparation, and delivery outlined above will put you on your way to creating and delivering an effective presentation.
Click the Next Topic arrow to proceed to the Presentation Checklist and then the instructions for completing the Final Project.
 Presentation Software
 Create a Slide Presentation